How Pax Autocratica actually plays
One day cycle, two completely different games, and a prisoner system that stops them being separate. Here is the whole loop with the real screens attached.
Last verified
· Game build 0.184.0.196275
The day clock runs everything
The colony runs on a clock displayed top-left, marked T.C. Day with a phase label. The phase
decides what your population is doing:
| Phase | What happens |
|---|---|
| Work Hours | Assigned jobs produce at their per-hour rates. |
| Social Hours | Citizens talk, argue, and try to learn skills from each other. |
| Rest Hours | Stamina recovers. Skipping rest is how Overwork and Exhausted alerts pile up. |
Social Hours are not filler. The event log fills with lines like "[Miralisse Novarin] sought advice from [—] on Planting Speed, but was unable to learn it" and "[Caitlin Jenkins] had a chat with [Frank Baker]". Skill transfer between citizens is a real mechanic and it fails often.
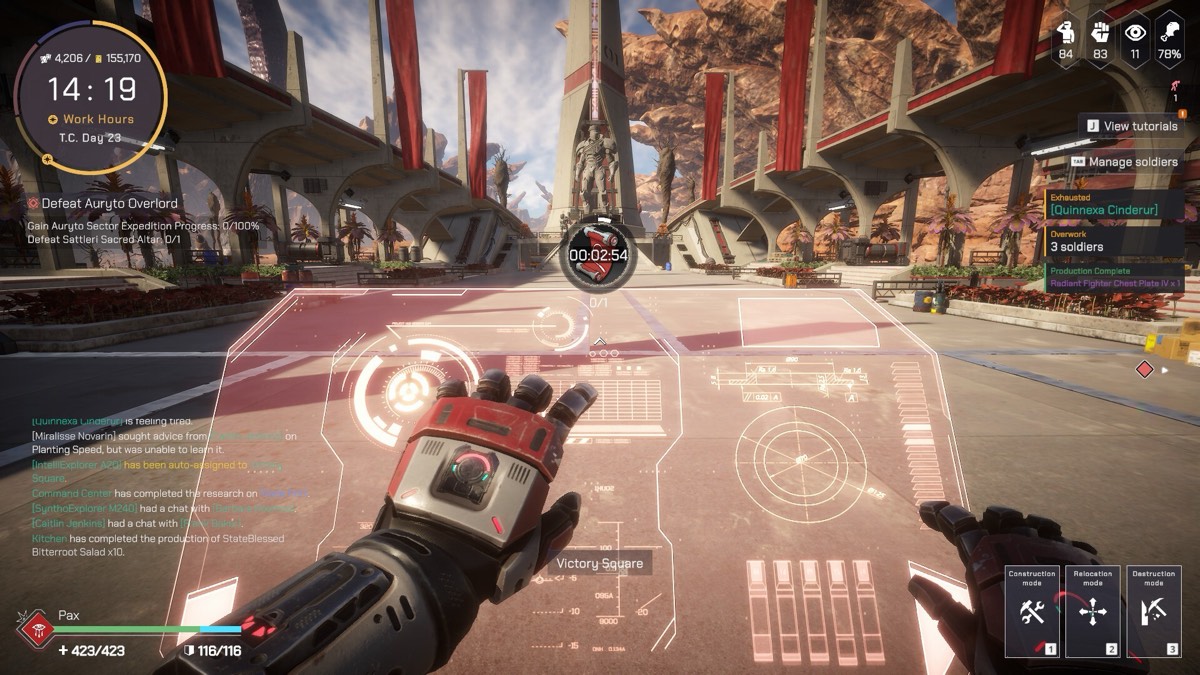
The colony half: rates, not vibes
Building placement happens in first person through three modes, bound to number keys:
| Mode | Key |
|---|---|
| Construction mode | 1 |
| Relocation mode | 2 |
| Destruction mode | 3 |
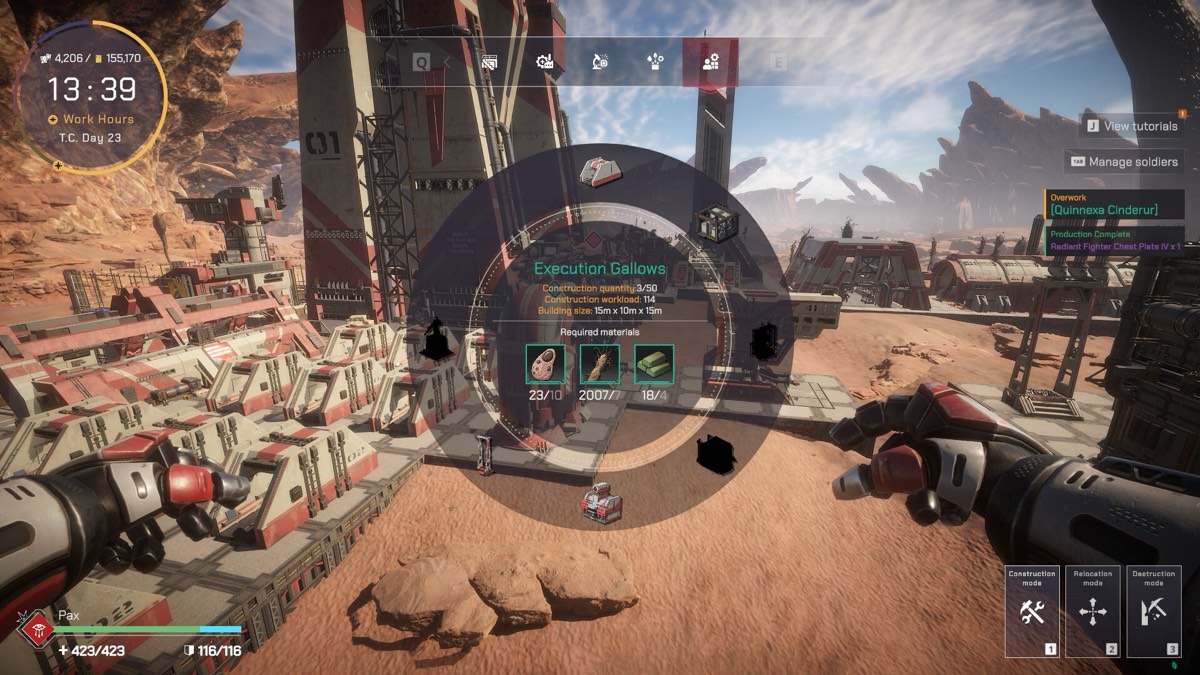
Placement shows you exactly what a structure costs before you commit: the Execution Gallows displays a construction workload of 114 and a footprint of 10m × 10m × 15m, alongside its three material requirements.
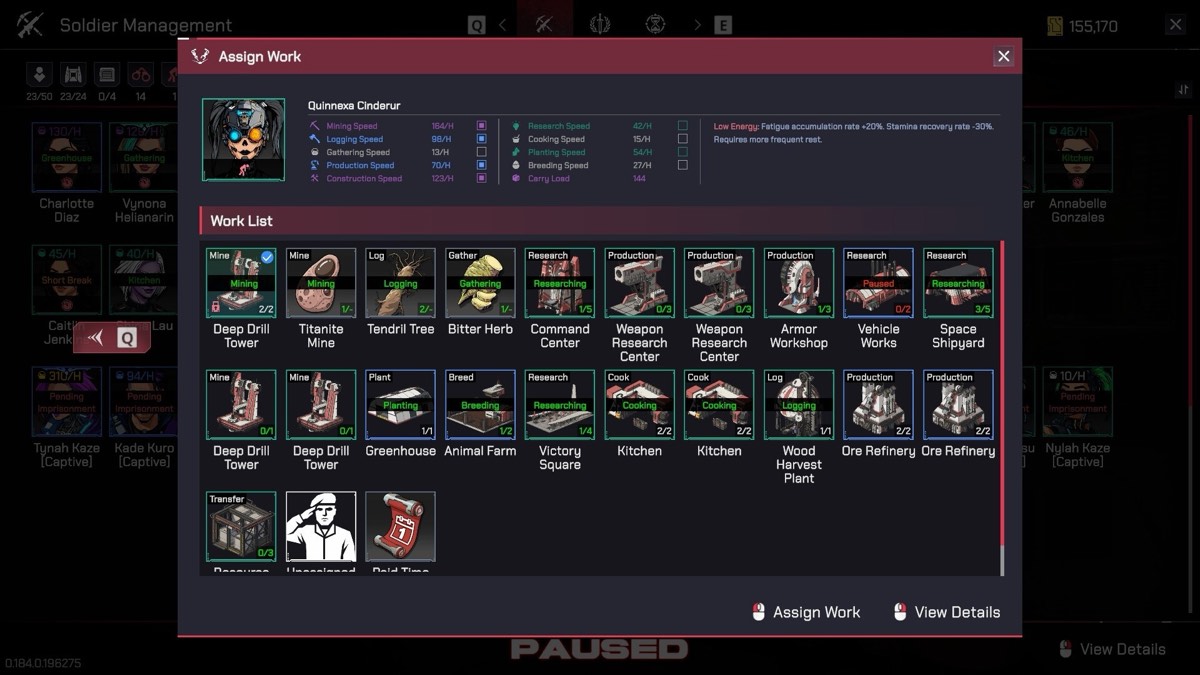
Then you assign people. Every citizen carries a separate per-hour figure for each job type, and the gap between citizens is enormous — the same screen shows workers producing 130/H and 10/H. Assign by the number.
Research and policy are the same tree
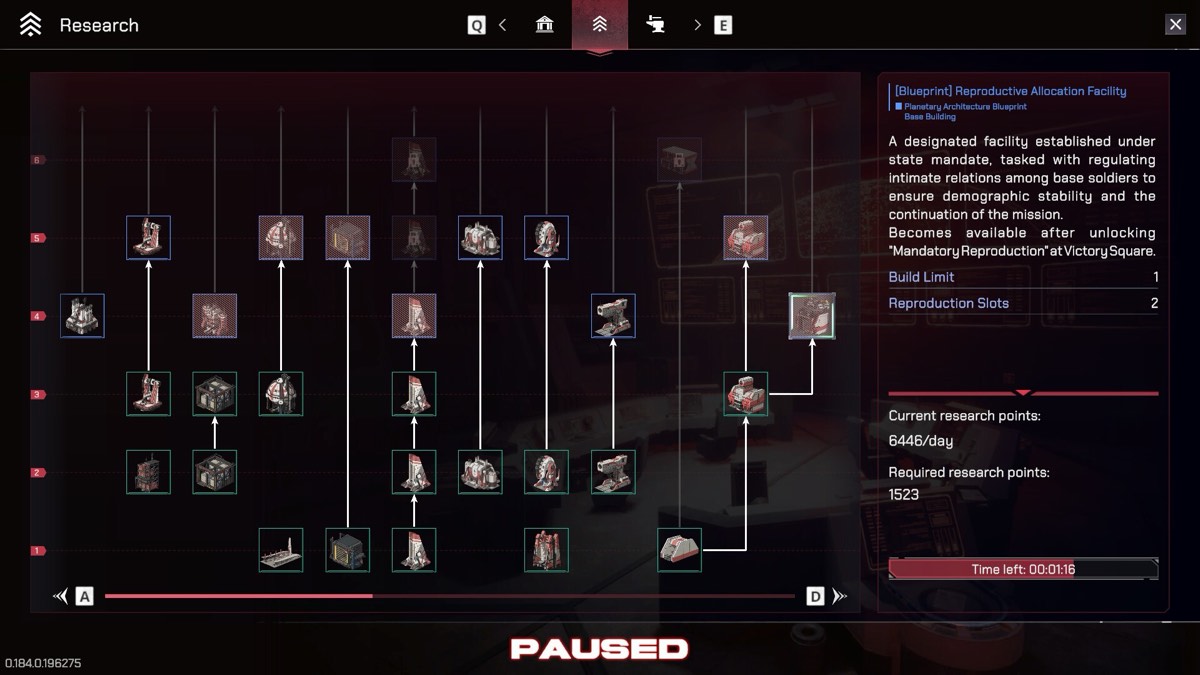
Research runs from a points-per-day pool — the observed build showed 6,446/day against a 1,523-point requirement, resolving in about a minute of real time. The tree mixes ordinary base-building unlocks with policy unlocks, and the policies are where the game's tone lives.
The Reproductive Allocation Facility, for example, is gated behind unlocking Mandatory Reproduction at Victory Square, has a Build Limit of 1, and provides 2 Reproduction Slots. High-Pressure Labor is another Victory Square research. These are not flavour text — they are nodes with prerequisites.
The expedition half
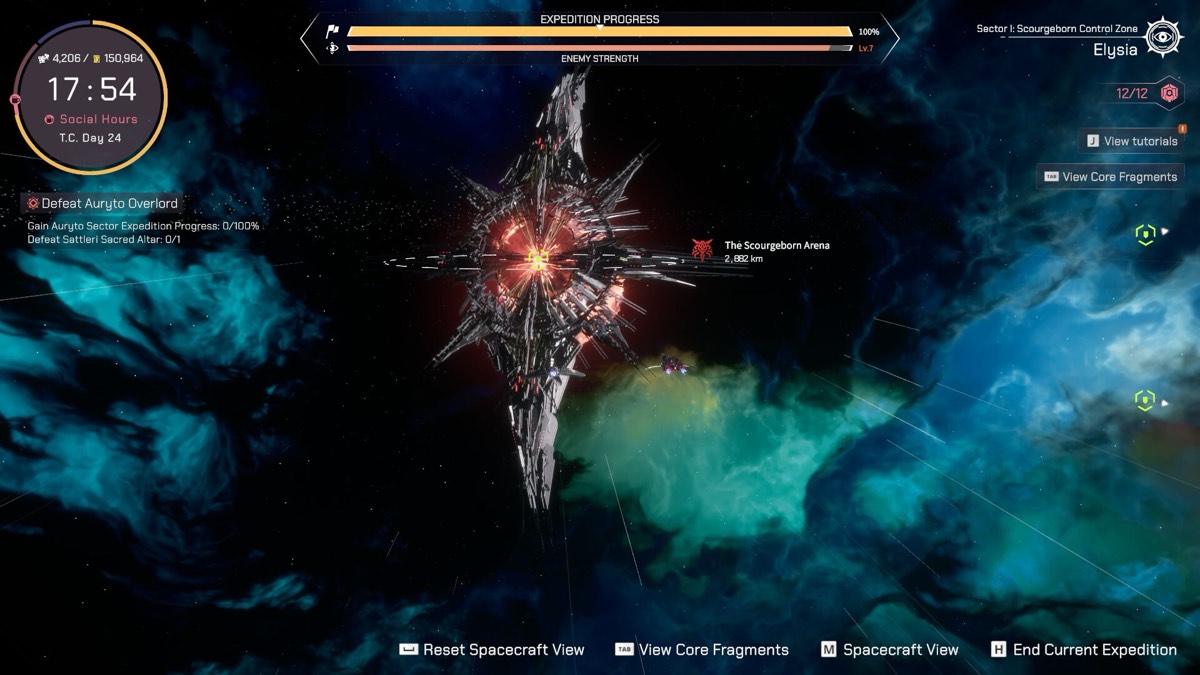
Leaving the colony puts you on a star map of the Tyris System, starting in Elysia. The observed run was Sector I: Scourgeborn Control Zone, with a named site — The Scourgeborn Arena — at a listed distance. Two meters run across the top:
- Expedition Progress (0–100%)
- Enemy Strength
Objectives are explicit and stacked, e.g. Defeat Auryto Overlord; Gain Auryto Sector Expedition Progress: 0/100%; Defeat Sattleri Sacred Altar: 0/1.
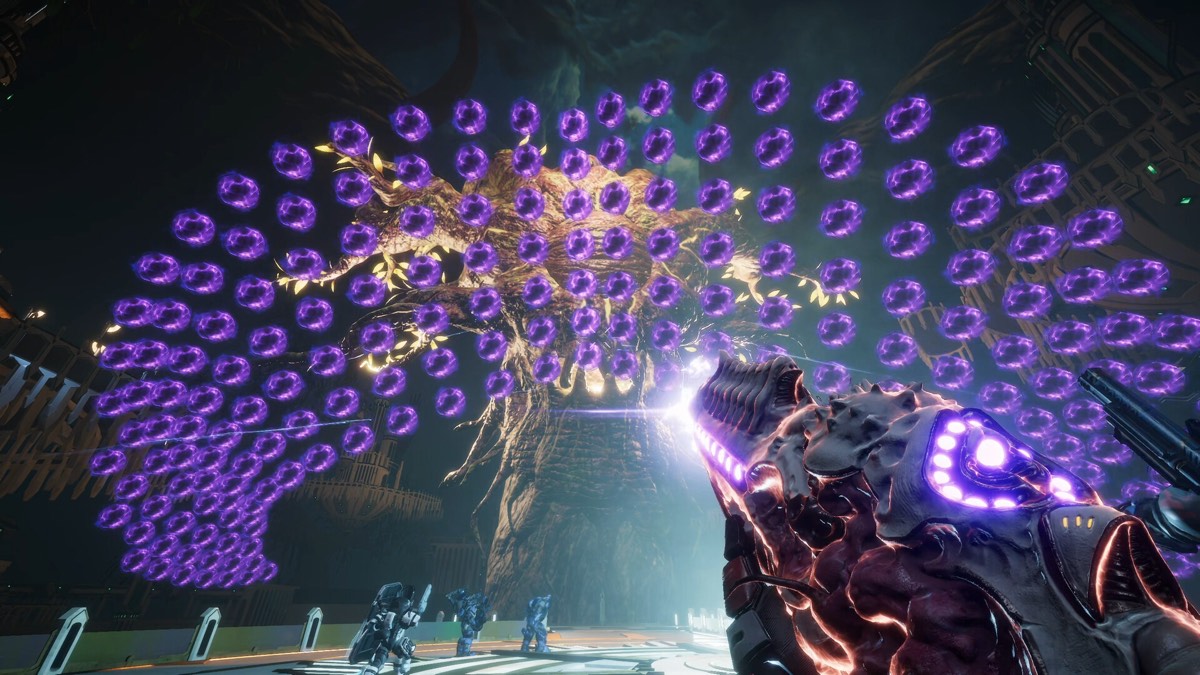
On the ground it is a first-person shooter with squad orders — Move, Attack, Follow Me — and a full bullet-hell vocabulary: projectile rings, lasers, missiles, drones and artillery, from elites, bosses and Sector Overlords.
Core Fragments build the run
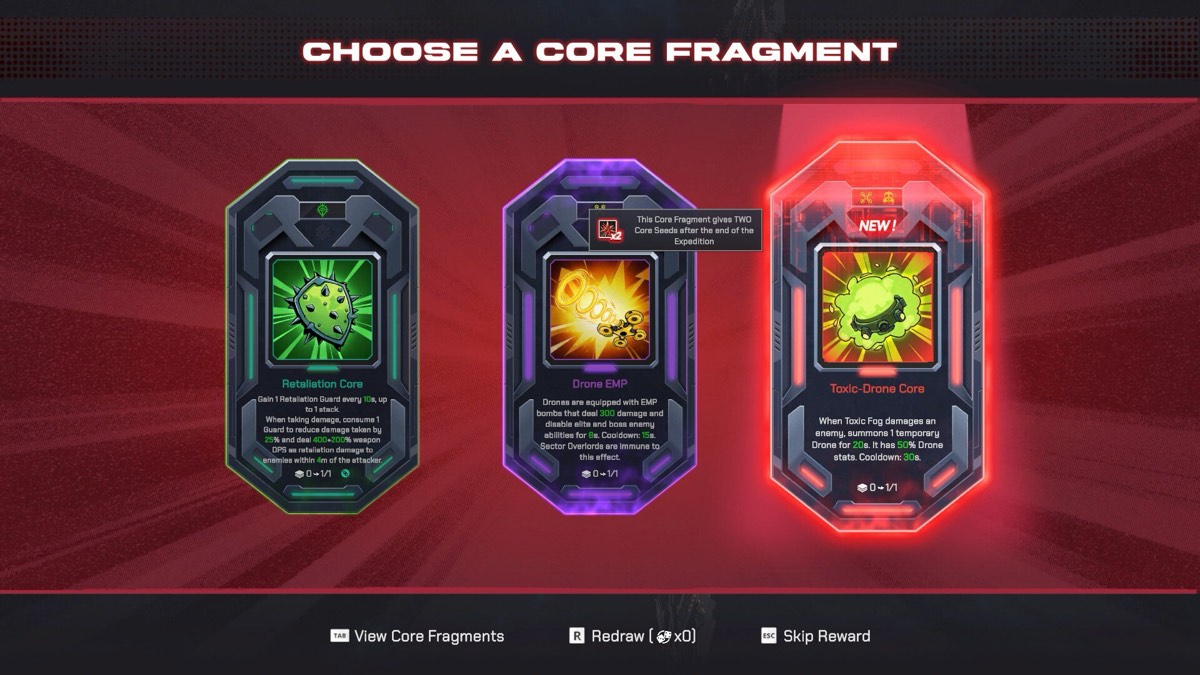
During an expedition you are offered Core Fragments — three at a time, with a redraw and a skip option. Each has a rarity colour, an explicit numeric effect, and often tags that other cores key off.
The collection screen caps at 12 slots. That is your whole run budget, which is why grabbing the biggest number on offer is usually the wrong call: a Toxic-Drone Core does literally nothing unless you also hold Toxic Fog and Drone sources.
Prisoners are the bridge
This is the mechanic that makes it one game instead of two. Weakened enemies can be captured and dragged home, where four paths open: fear, indoctrination, execution, or conversion. Conversion turns an enemy into a citizen — with their own stat lines and traits, good and bad.
The cost structure is what catches people out. Captives show as [Captive] in Soldier
Management and can sit in a Pending Imprisonment state when you have more bodies than cells.
Capturing ten enemies when you can process three is a net loss.
The full guide
- Capturing and converting — Including why your captures keep dying
- Loyalty and revolt — What converted citizens do to your stability